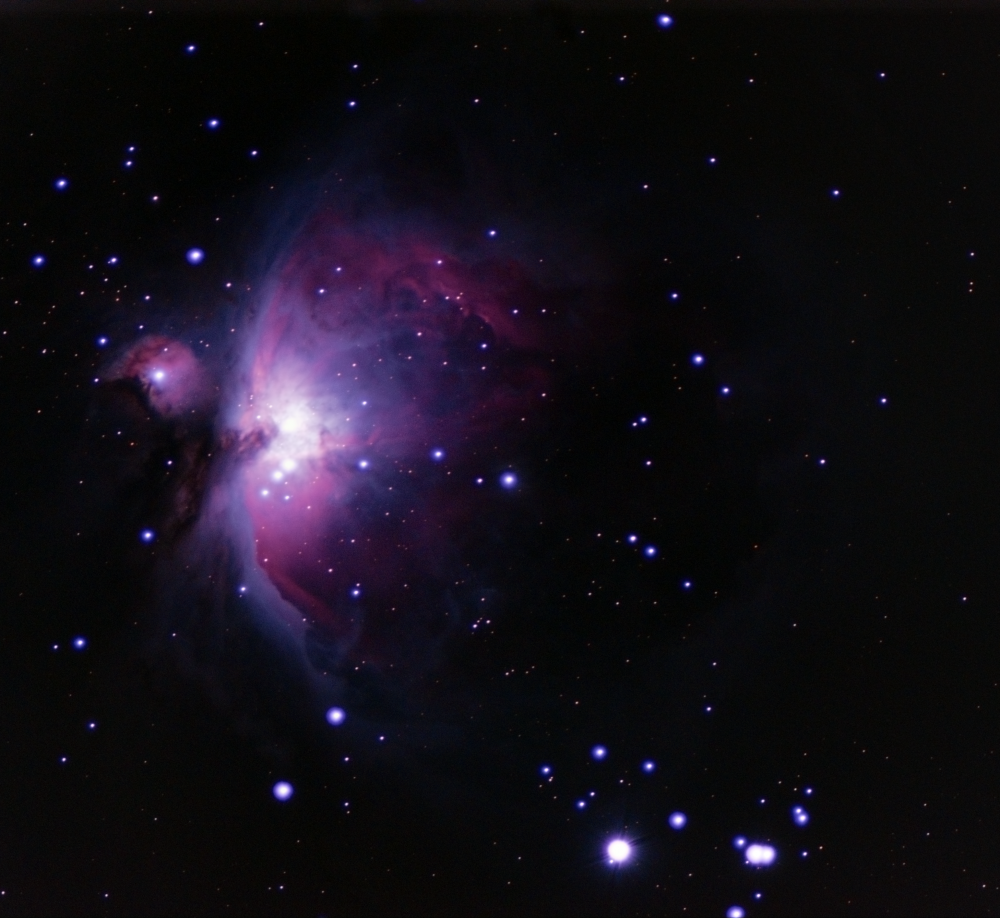
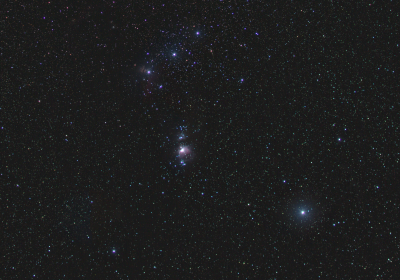
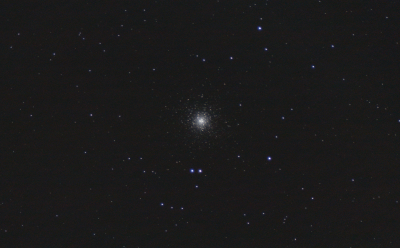
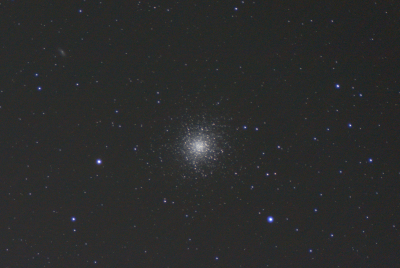
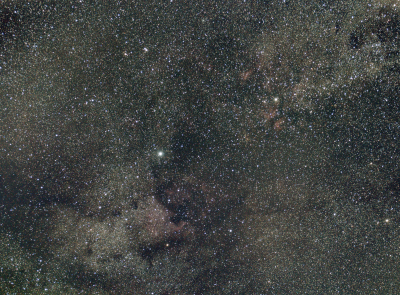
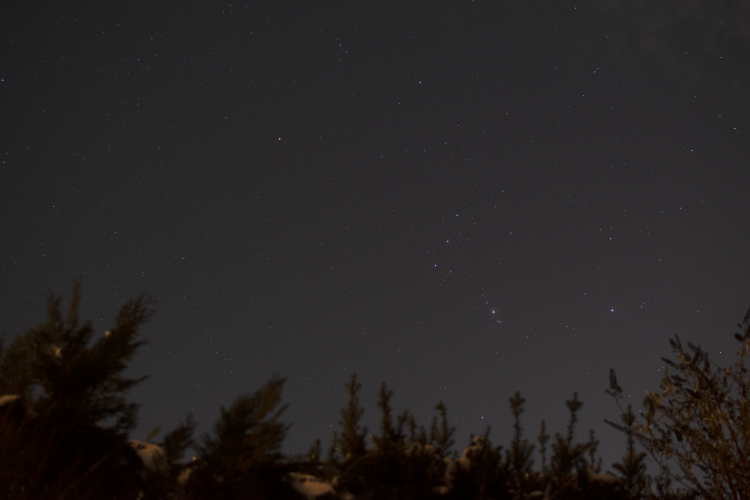
It turned out quite well!
I read somewhere about this method for reducing chromatic aberration in Photoshop:
- Convert the image from RGB color space to Lab (Image > Mode > Lab color);
- In the Layers window, go to the Channels tab and apply the Dust & Scratches filter (Filter > Noise > Dust & Scratches) to the a and b channels (*especially* the b channel), adjusting to taste;
- Convert the image from Lab back to RGB.
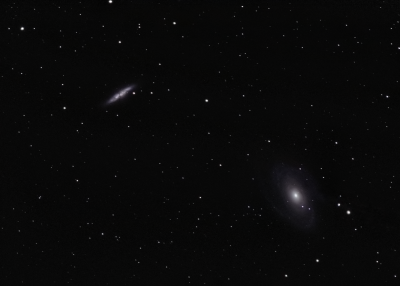
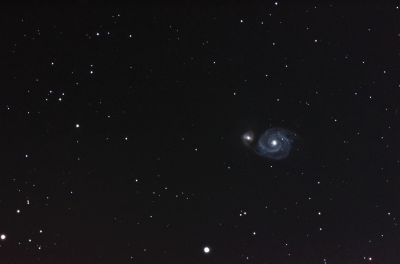
Please note! You should be more careful with these methods of combating chromatic aberration—they can "wash out" the natural color of blue stars and affect the color of non-stellar objects in the image (nebulae, galaxies, comets, etc.). The most correct approach would be to separate the processing of stars and everything else.
Also, you have a Nikon—I don’t remember the model name—but if you shoot in RAW, it doesn’t really matter what ISO you set; the result will be pretty much the same, though the dynamic range does drop.
Try shooting at the same shutter speed with different ISO settings, but make sure you shoot in RAW, then play with the files in Photoshop.
You’ll see there’s almost no difference.
It’s just that at ISO 3200 you can see the image clearly on the screen, while at ISO 100 it looks like nothing is there—but the data is actually captured.

Comments
I read somewhere about this method for reducing chromatic aberration in Photoshop:
- Convert the image from RGB color space to Lab (Image > Mode > Lab color);
- In the Layers window, go to the Channels tab and apply the Dust & Scratches filter (Filter > Noise > Dust & Scratches) to the a and b channels (*especially* the b channel), adjusting to taste;
- Convert the image from Lab back to RGB.
Article by Star Hunter.
Comments are available only to registered users. Register or log in to leave a comment.